Week 07: 3D Scanning and Printing
Our assignment this week was to:
- Test the design rules of the 3D printers at Aalto Fablab.
- Design an object that can not be made using subtractive manufacturing.
- 3D print the object you designed.
- 3D scan something and (optionally) print it.
- Document your process in a new page on your website.
- Submit a link to the page on your documentation website.
This week I was already quite behind due to attending a workshop during the workshop week and thus not having time to do the assignments, so I opted to just print a design off Thingiverse instead of designing my own.
3D Printing
I decided to print a holder for electronic toothbrush heads, as me and my partner use the same toothbrush but just switch the heads.
I had initially planned on using one of the Ultimaker printers at the Fab Lab, but since neither of them were free at the time, I decided to try one of the LulzBots.
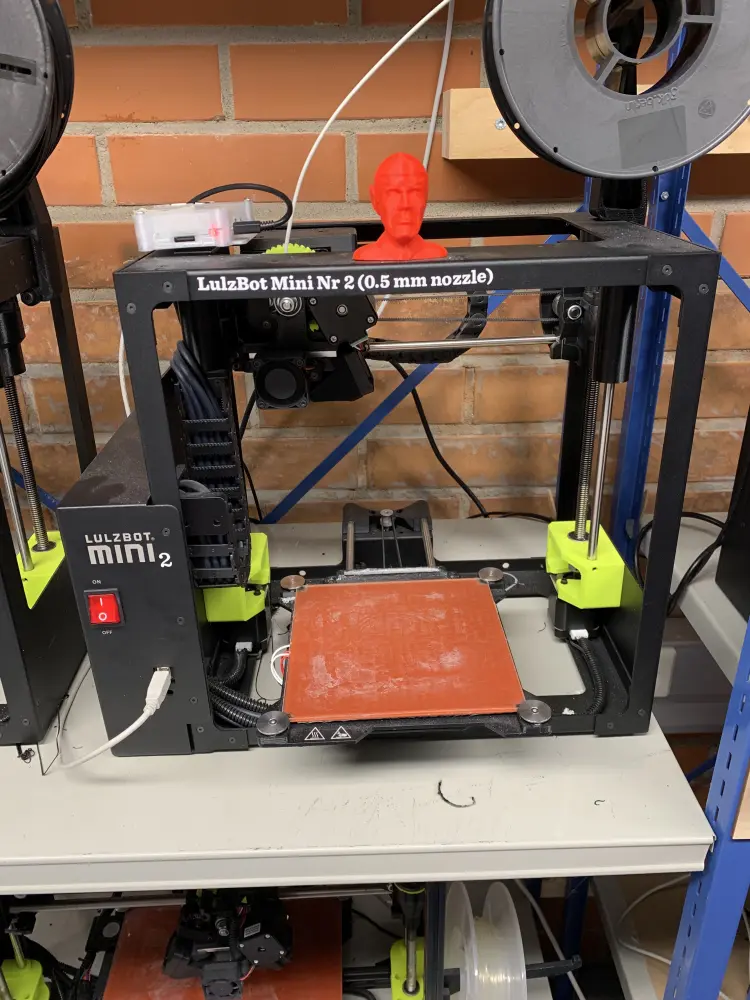
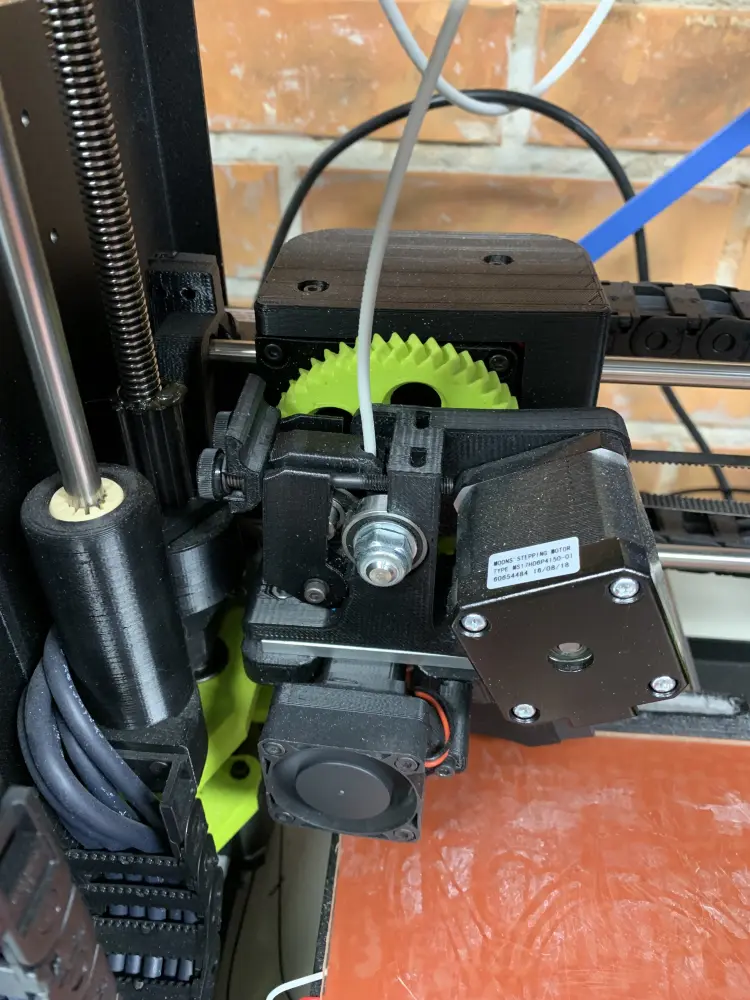
After skimming through a introduction video and asking for some tips from Kris, I started off by heating up the nozzle and cleaning it with IPA. I also cleaned the four metal pads in the corners of the print bed, which the machine uses for Z-axis alignment.
I also changed the filament to a white one. This can be done by loosening two of the thumb screws holding the old filament in place, pulling it out, putting the new filament in and tightening the screws again. Also, as I learned later on in the process, you have to extrude the old filament left in the nozzle, but I still don't have any clue how to do this with the LulzBots, as the web UI didn't seem to have any button to do this.
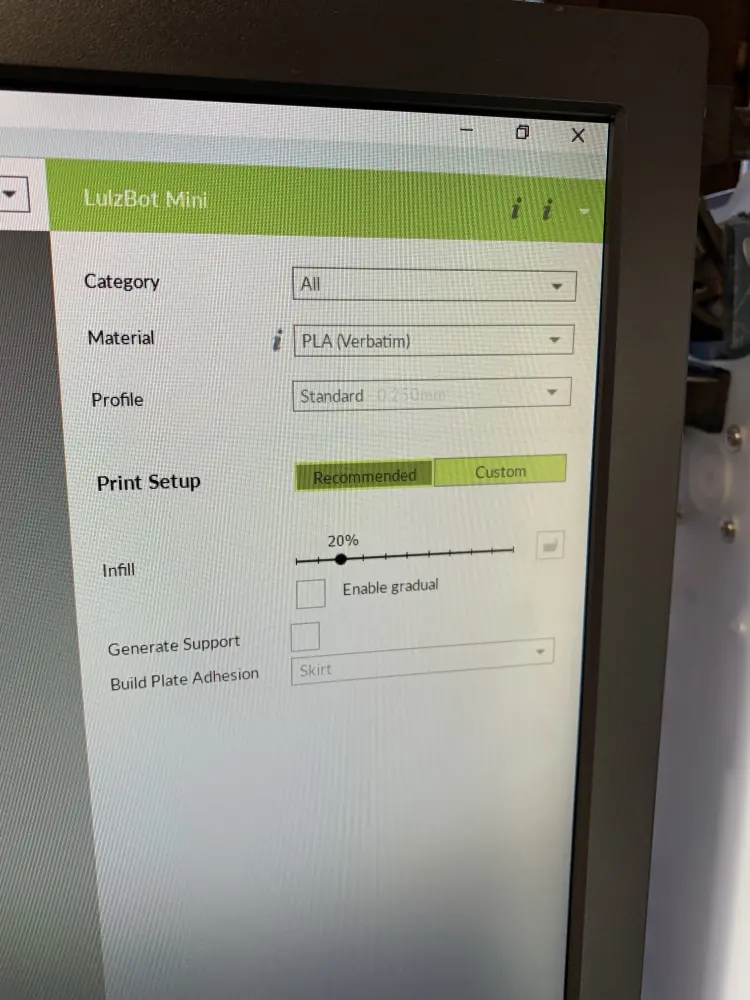
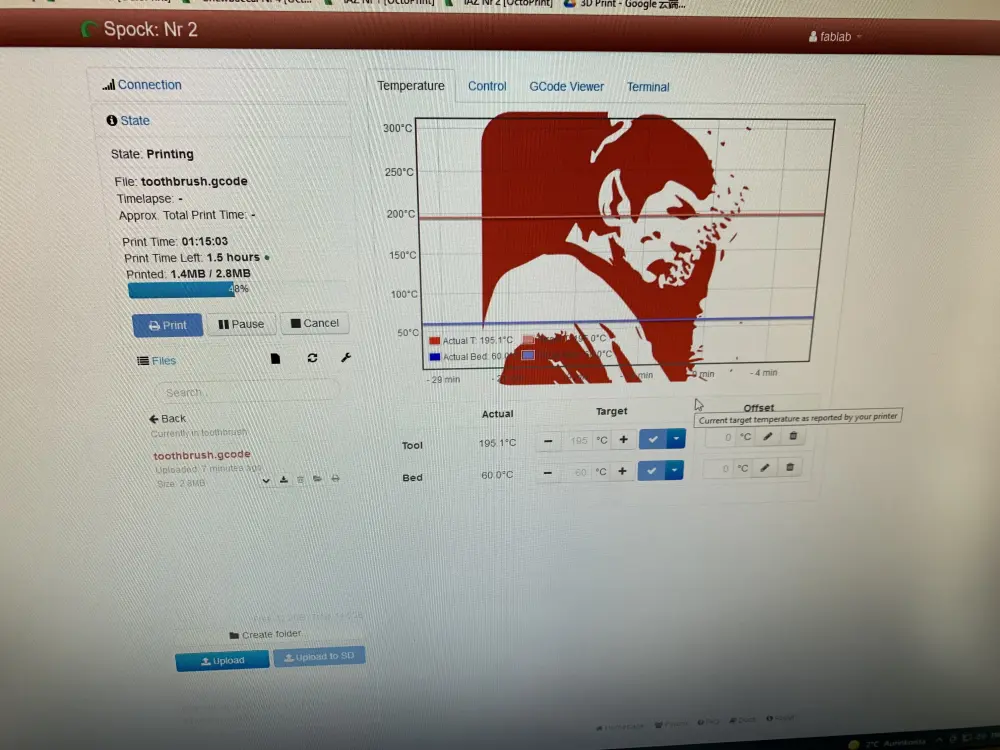
The slicing process for the LulzBot seemed to be pretty straightforward. Open up Cura for the LulzBot machines, load your .stl file and you should see this:
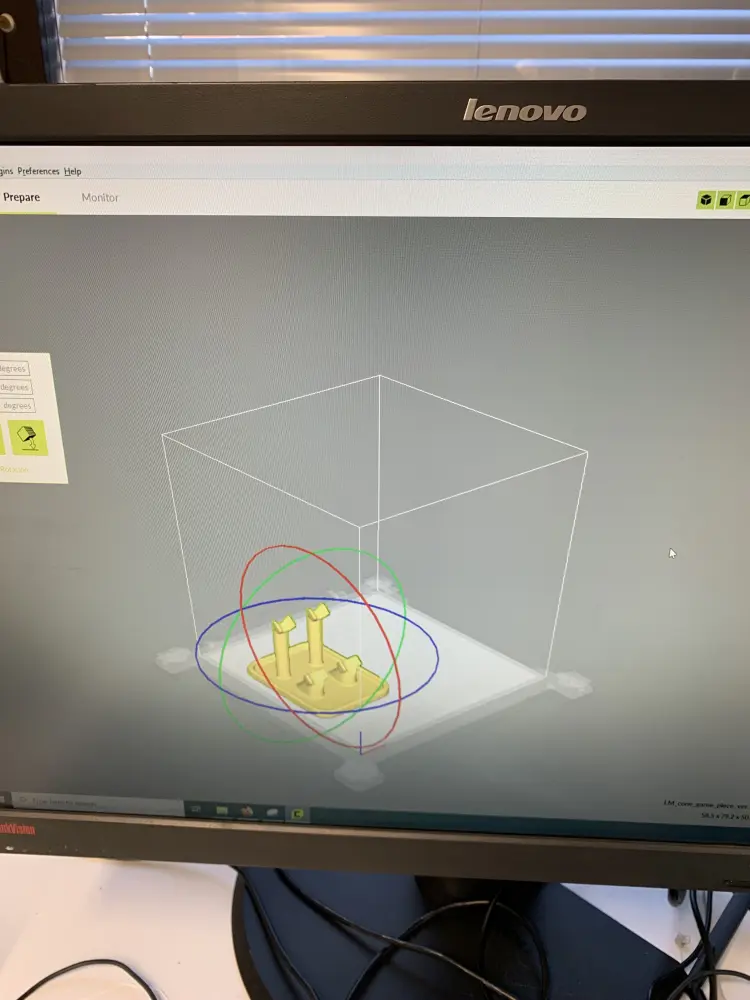
As for the settings, I went with the defaults which seemed reasonable enough.
Then I navigated to the web UI of the LulzBot using the computer at the 3d printing room, logged in and connected as instructed in the video I watched, and uploaded my file to start printing.
When I started printing the swapping of the filament had clearly gone wrong. The machine wouldn't print anything and would just move the nozzle around trying to print. When it finally did print, it extruded some of the old filament left in the nozzle resulting in a kind of cool black-white gradient. I didn't take a picture of this for some reason, I was probably pretty frustrated.
I stopped the print, cleaned the nozzle and pads again, reset the print. This time all seemed to be going fine, even if the print was a bit uneven from some places.
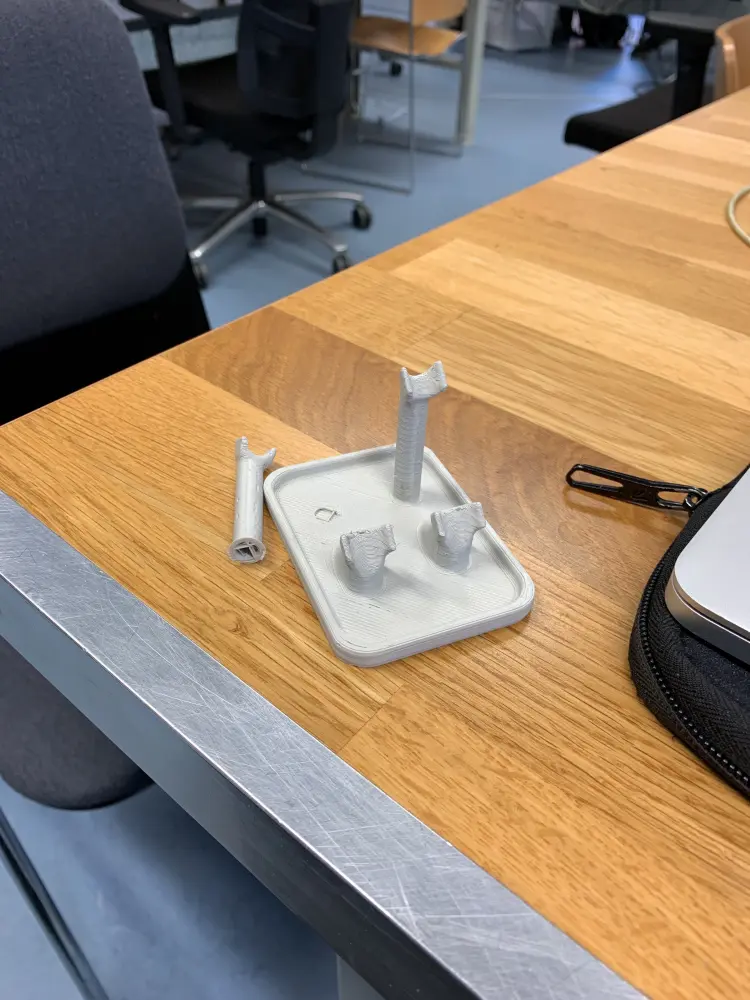
My biggest gripe with the result is the strings of filament that formed between poles of the holder. Not sure if this would've happened with the Ultimakers, but they were a pain to remove, and resulted in a pretty ugly finish even after removed.
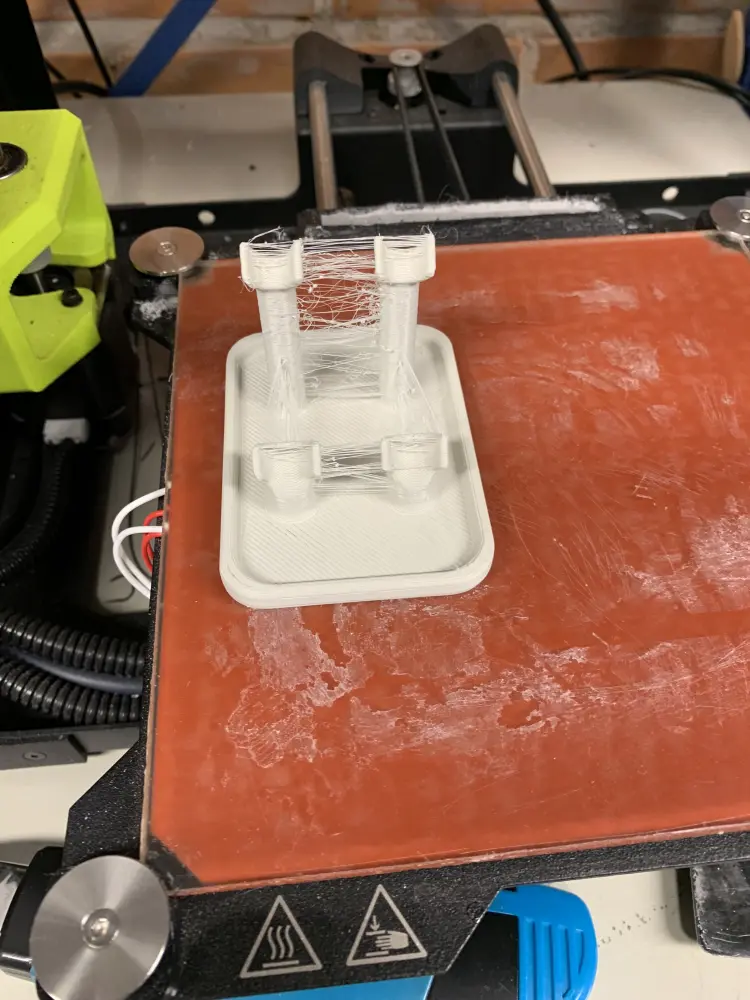
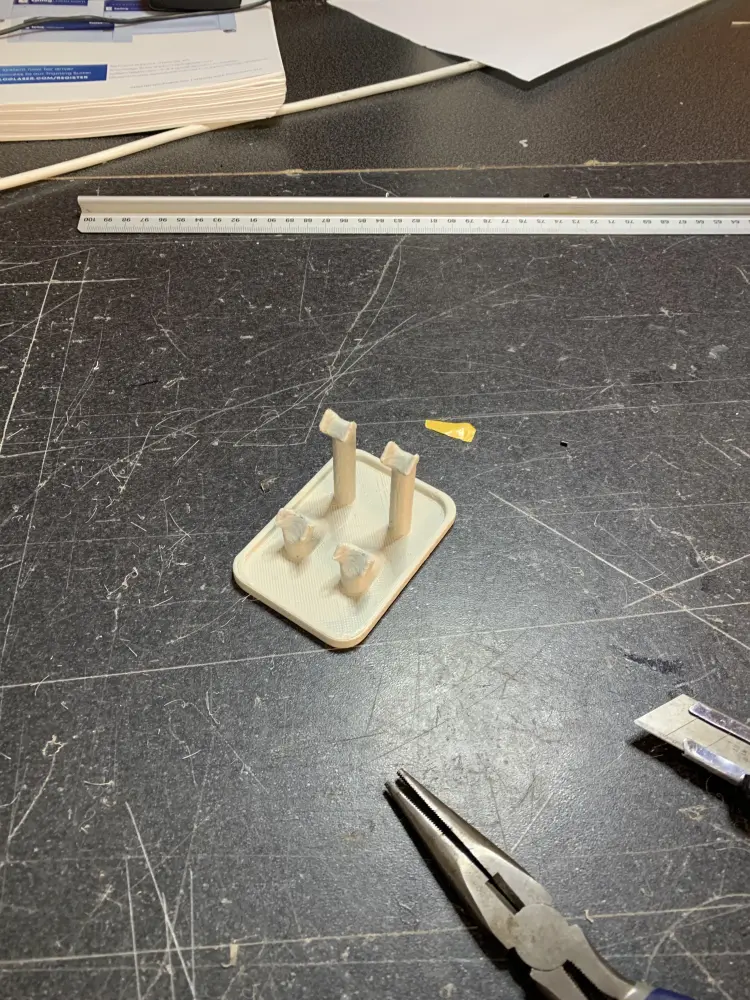
To top it all of, I managed to drop whole thing while leaving the lab. Nothing a little super glue can't fix, luckily.
3D Scanning
3D Scanning was one of the topics I was super excited about, I really love the photogrammetry aesthetic.
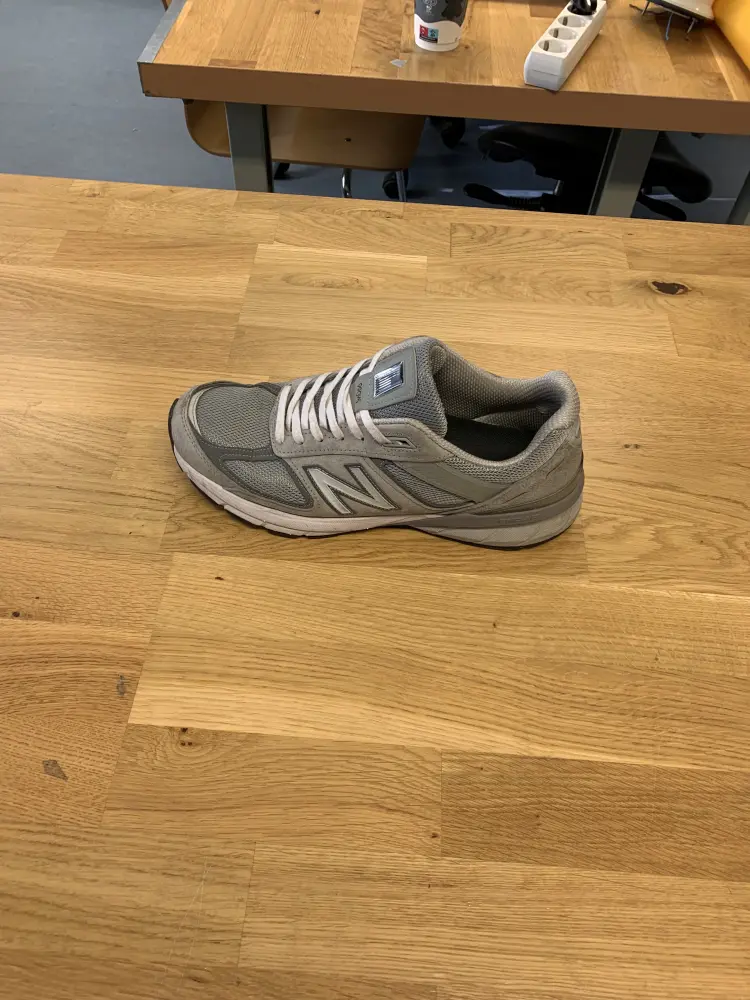
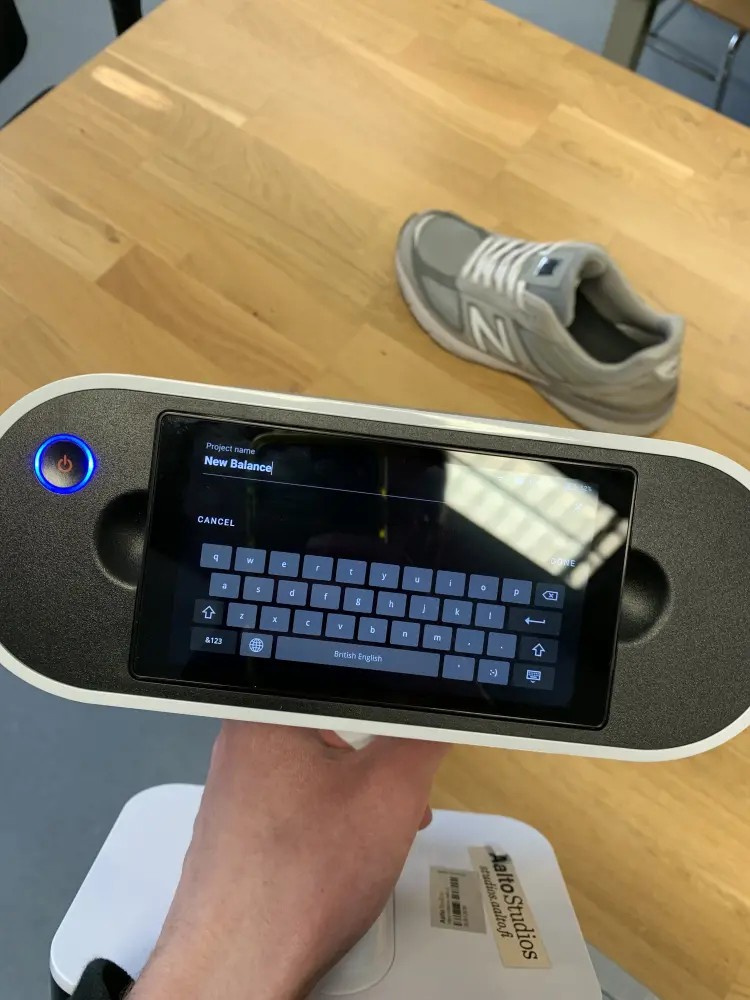
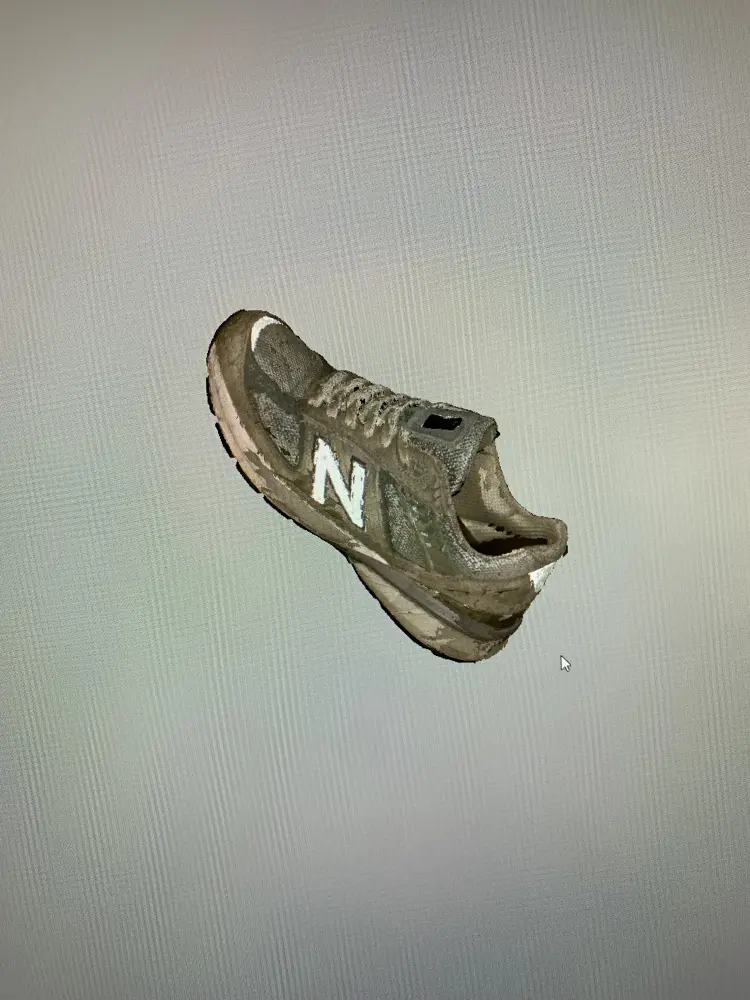
I decided to scan my trusty workhorse of a shoe, the New Balance M990v5. I wanted to produce a kind of a video game powerup animation as an end result.
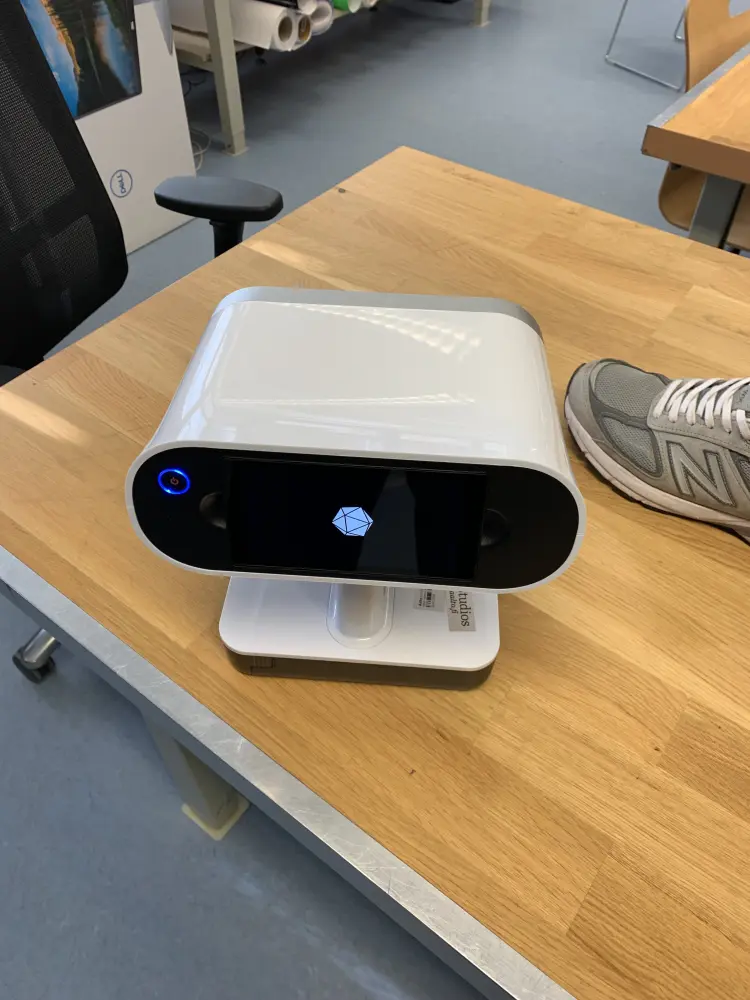
The process of scanning was super straightforward. To start, turn the Artec Leo -3D scanner on from the big power button.
After this you should create a new project and you're pretty much ready to scan! I didn't fiddle around with any of the settings really, as they seemed reasonable enough.
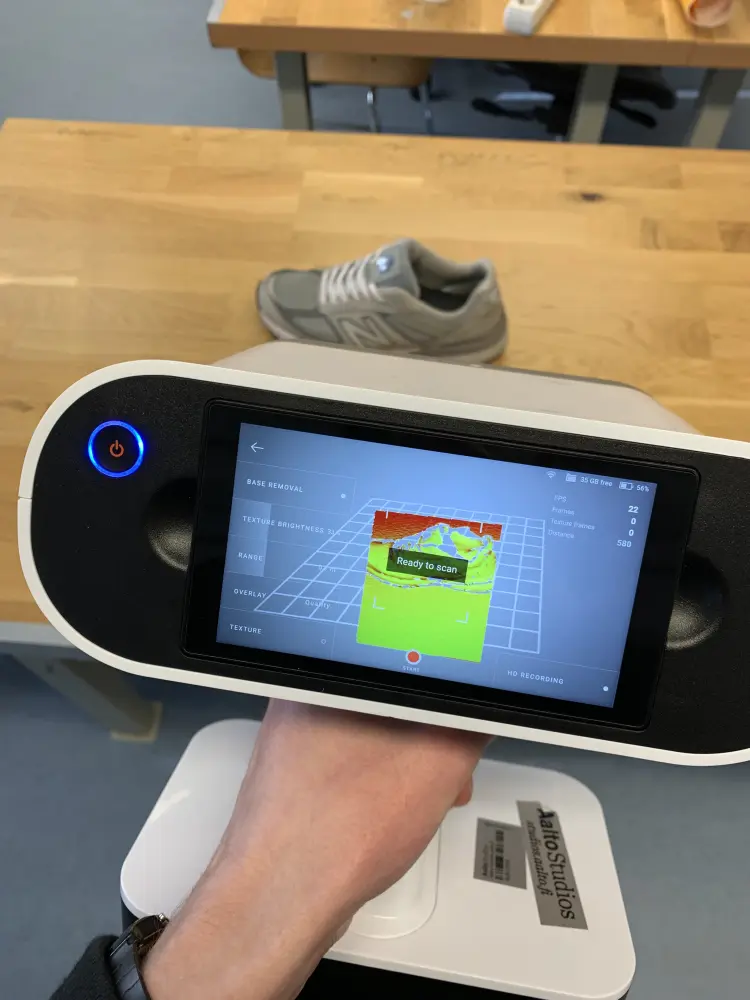
You should scan the object from multiple sides. I opted to scan it from the top, and both sides. This provided a solid enough scan.
After you've finished scanning, you should rename the project so that you can easily find it when importing it to the computer. You can do this by pressing on the project name in the upper left corner.
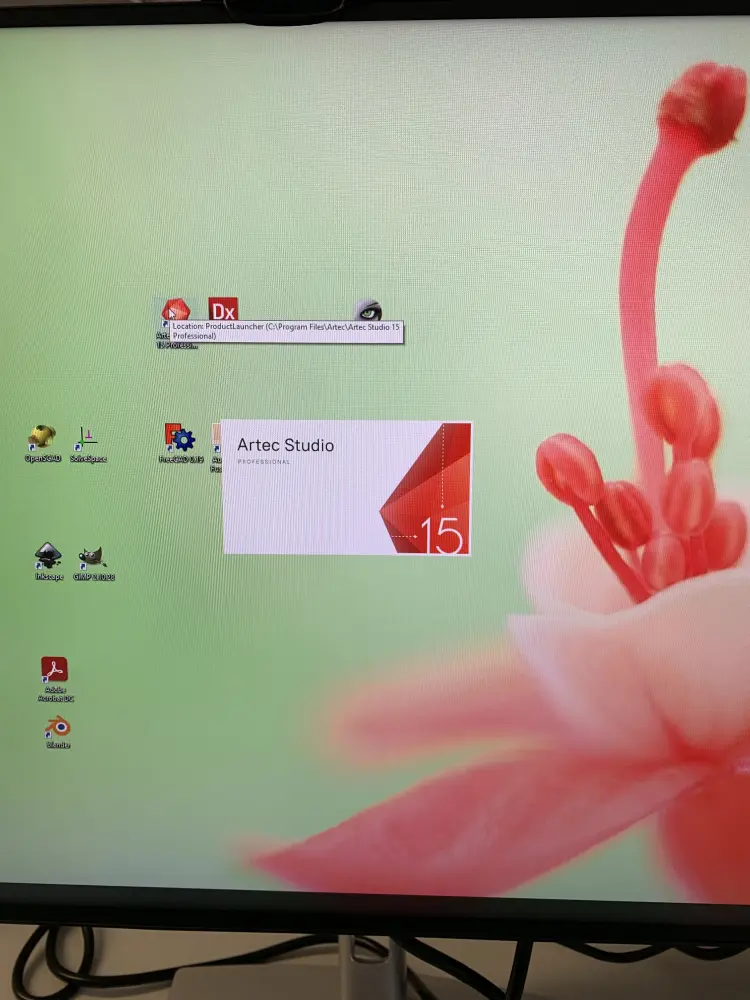
Now you can move on the computer. Boot up Artec Studio.
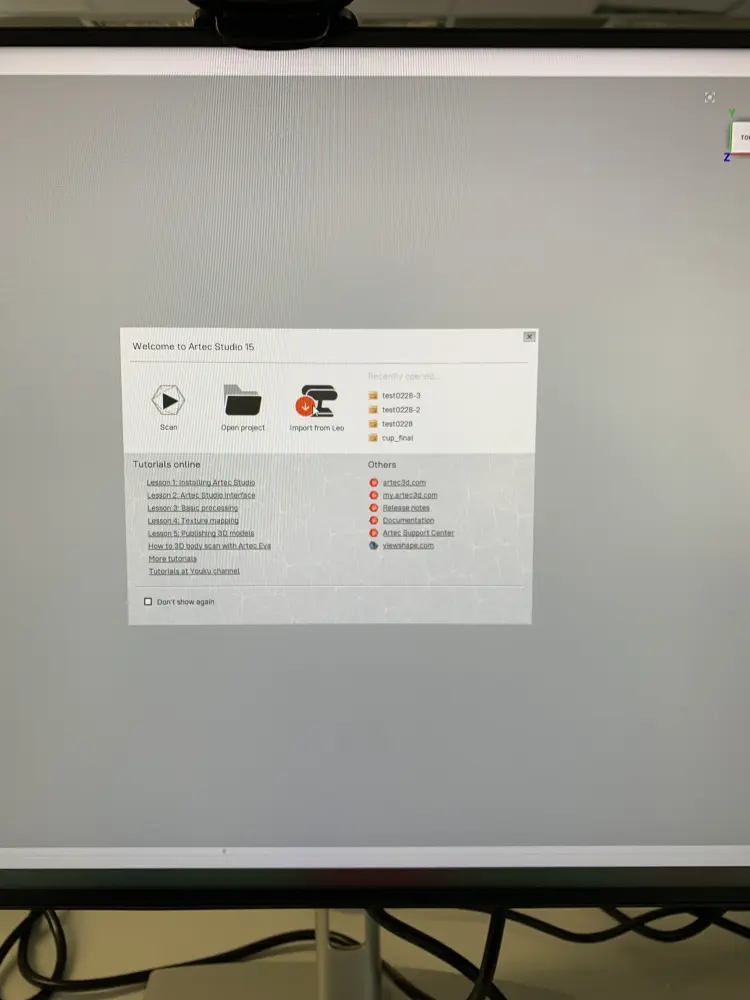
After this you should be greeted with a splash screen, select the "Import from Leo" -option. After this, choose "Manually specify IP".
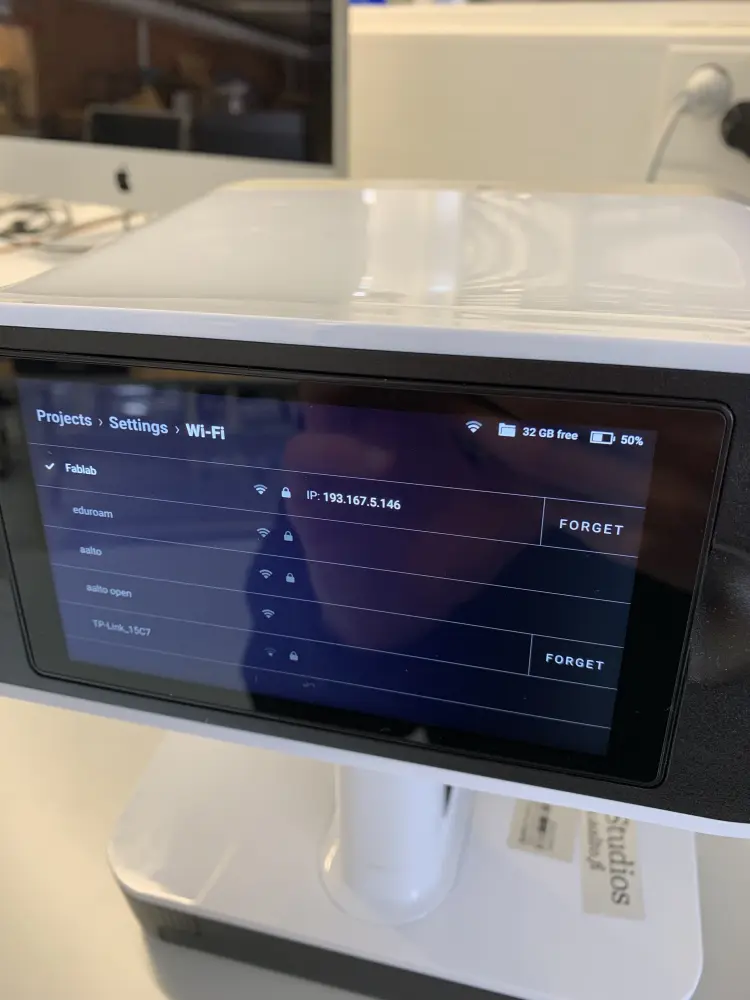
Now navigate over to the network settings on the Leo scanner to check the IP of the scanner, and input it as the IP on the computer.
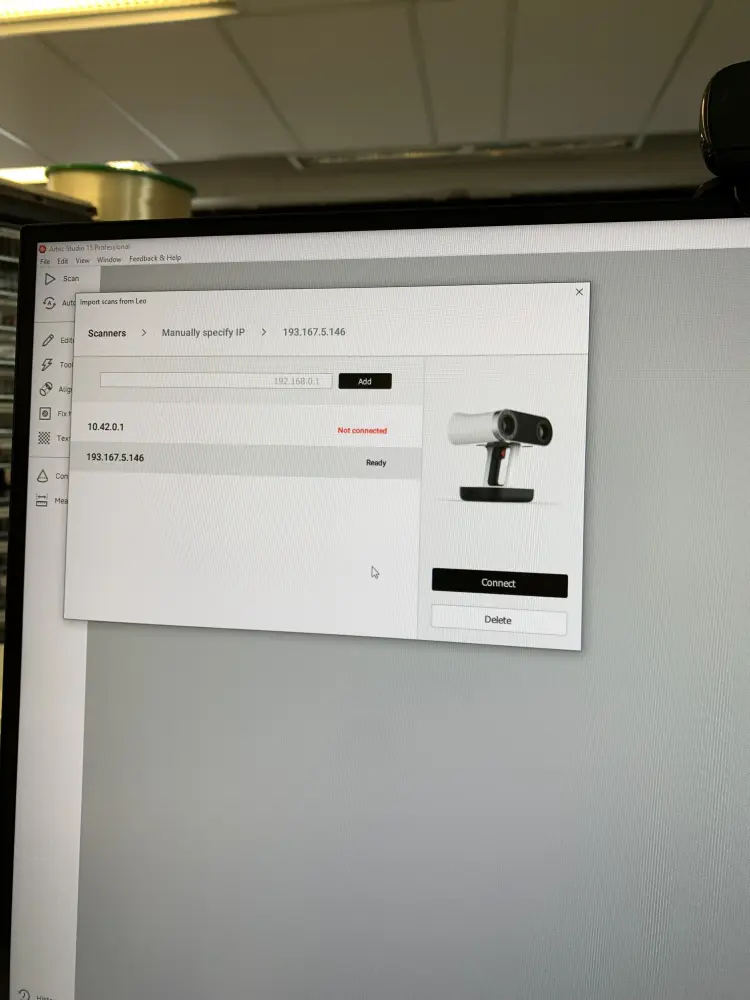
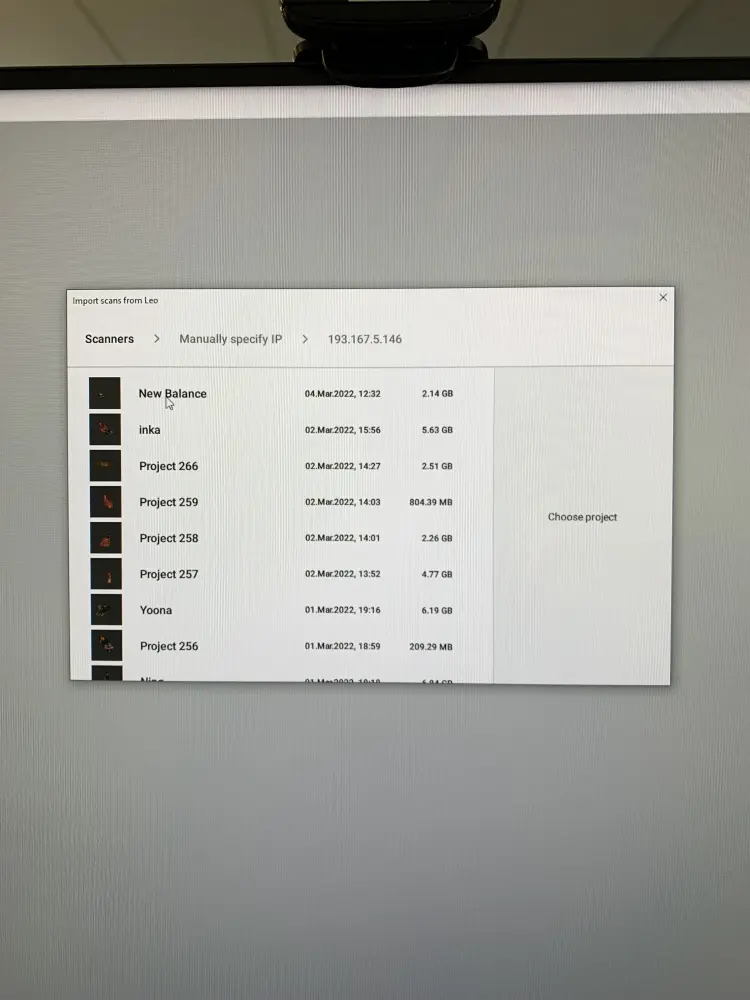
After this a list of projects should pop up. Select yours to continue.
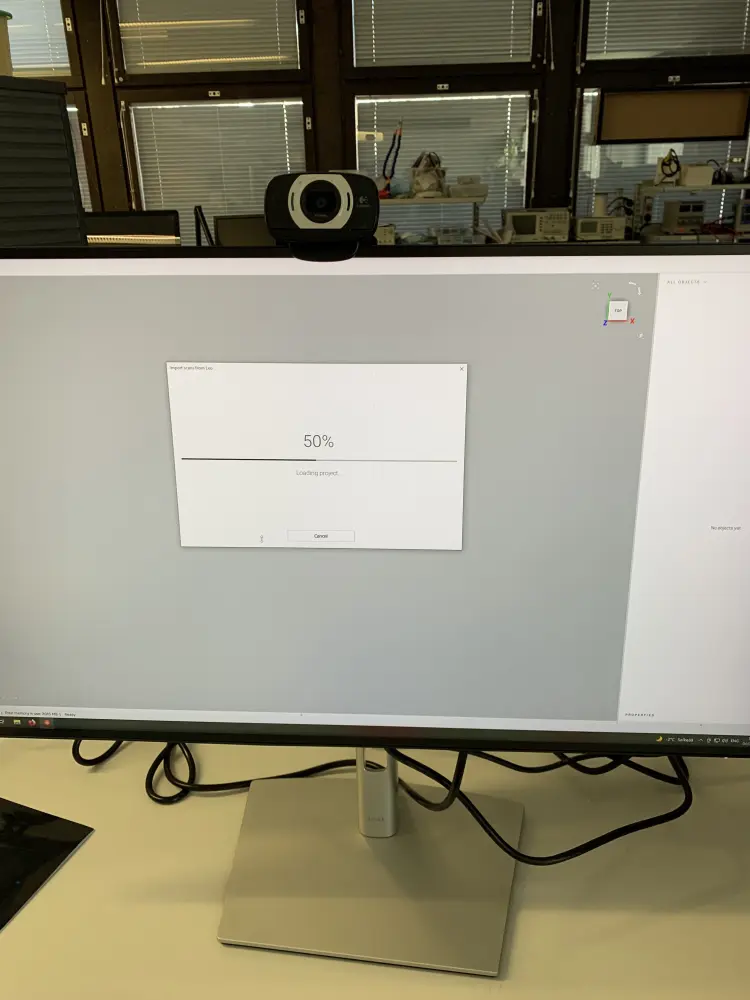
Wait for the project to load.
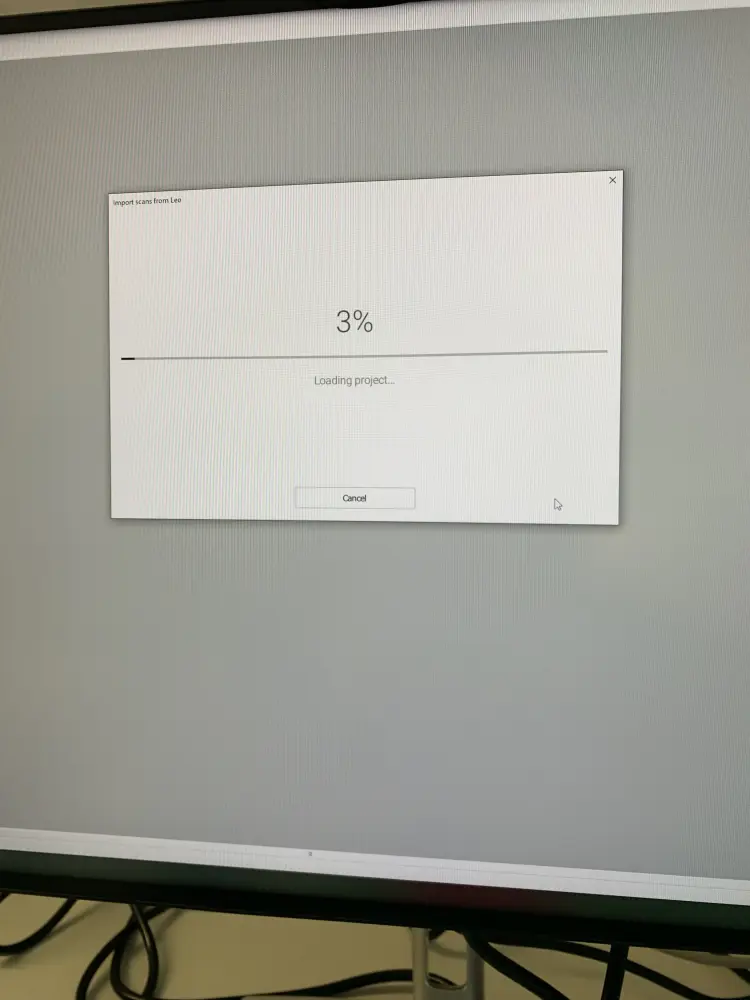
It really takes a while.
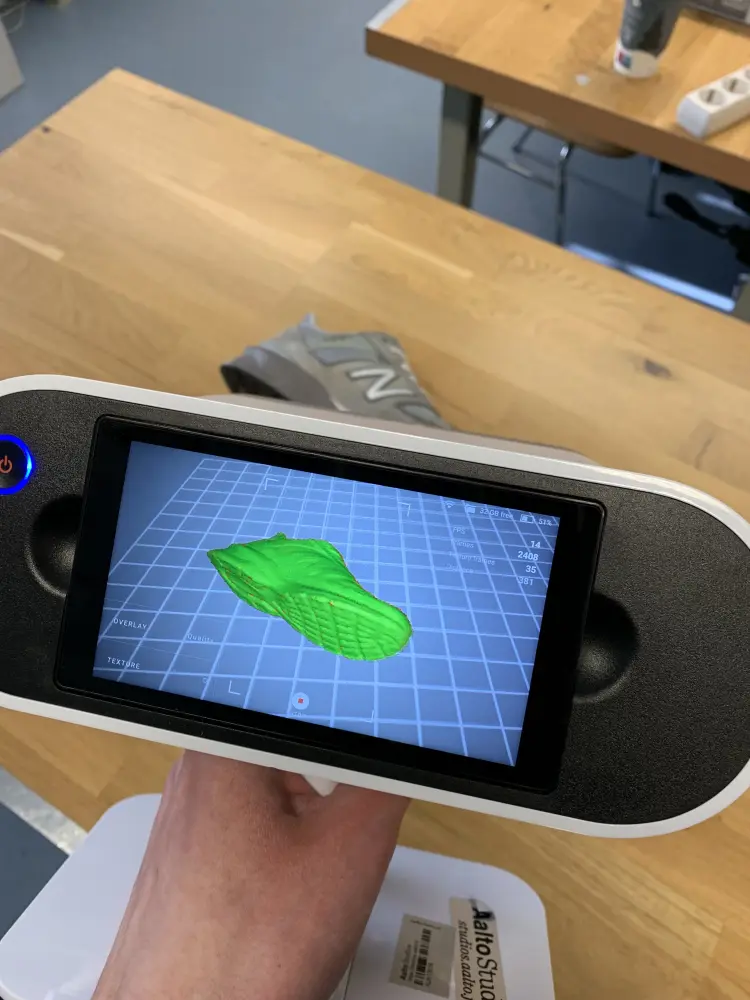
After the project has loaded, you should be greeted by your glorious scan.
After this you should remove all parts of the scan that don't really belong using the eraser tool.
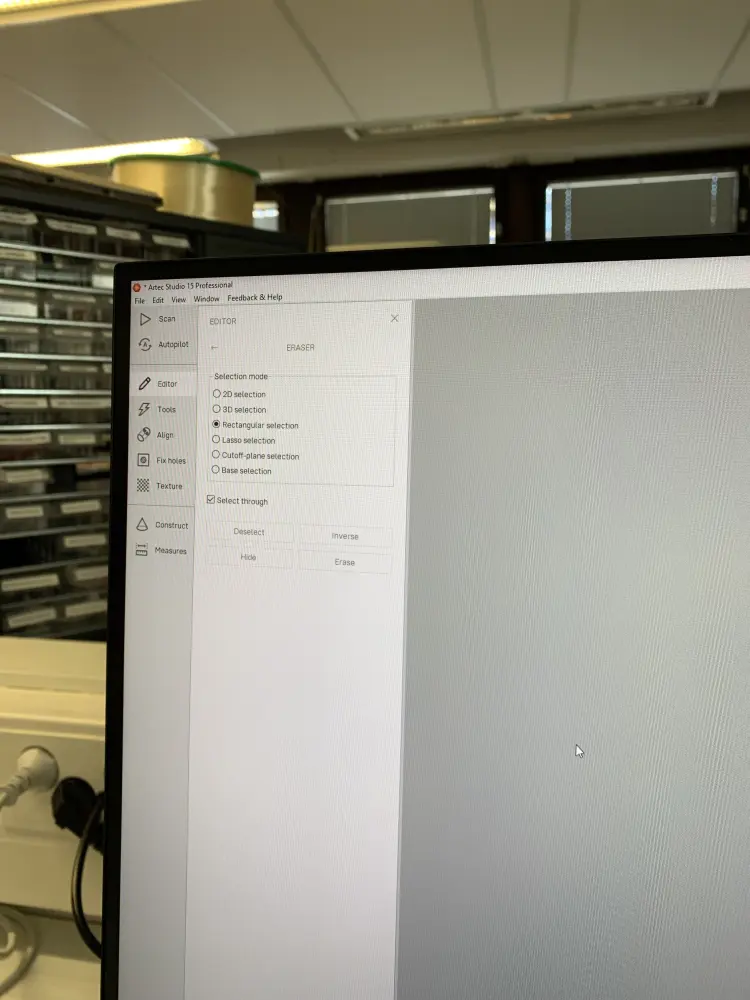
After removing all the outliers, you should create a fusion of the different scans from the Tools menu. After this, you can fill holes using the "Fix holes" menu.
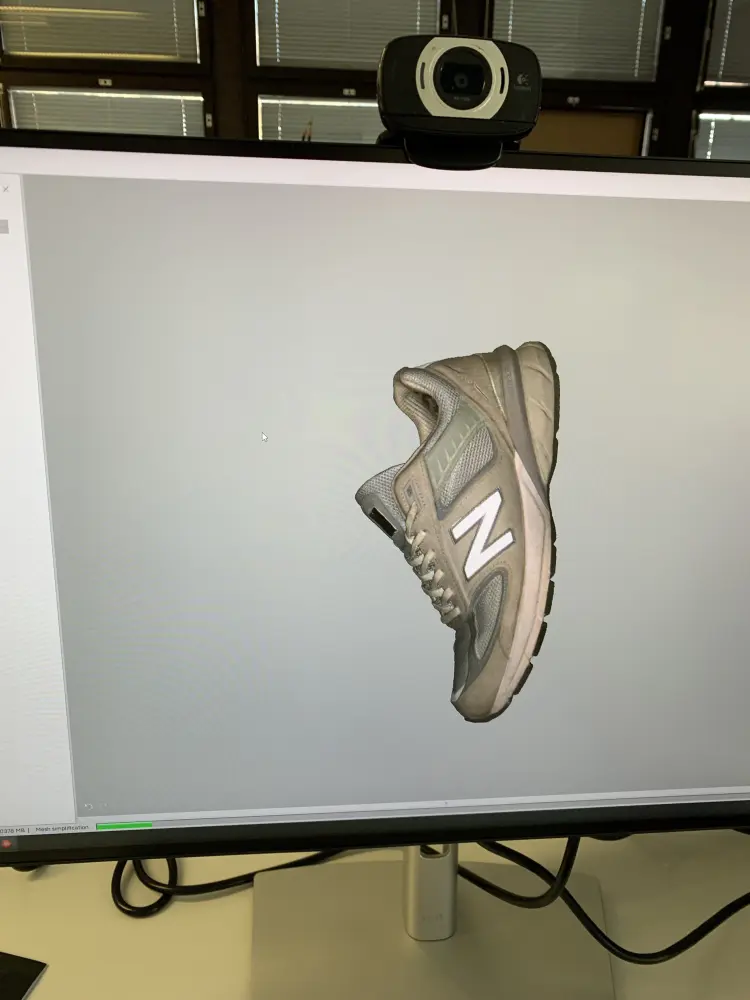
After fixing holes, it's a good idea to simplify the mesh before texturing. This can also be done from the Tools-menu
The final step before exporting is to texture the model. Navigate to the Texture menu and select all the scans you want to use the textures from.

After this hit "Apply" and wait for the texturing to finish, it should take a while.
Now you are ready to export the result. Navigate to File > Export and export the mesh as an .obj file. This format includes the textures as well, and most 3d editors support it.
After exporting the mesh, I did a quick animation of it in Blender in the style I described at the start: