Week 10: Embedded Programming
For this week our assignment was to
- Compare the performance and development workflows for other architectures. You should try to program two different microcontroller boards.
- Read the datasheet for your microcontroller and identify information that could be useful for your project.
- Use your programmer to program your board to do something.
- Describe the programming process with text and images.
- Document the process on your documentation page.
- Include source files of the code you wrote.
- Add a hero video of your board working.
- Submit a link to your assignment page here.
I don't really have previous experience with embedded programming, but I did do some low-level and C programming in my CS bachelors, so the idea of working with registers and plain C is somewhat familiar to me. It's also a subject I've always wanted to dive deeper into, especially after playing SHENZHEN I/O. Arduino IDE is nice and all, but I feel it leaves my understanding of what is actually happening in the microcontroller a bit superficial.
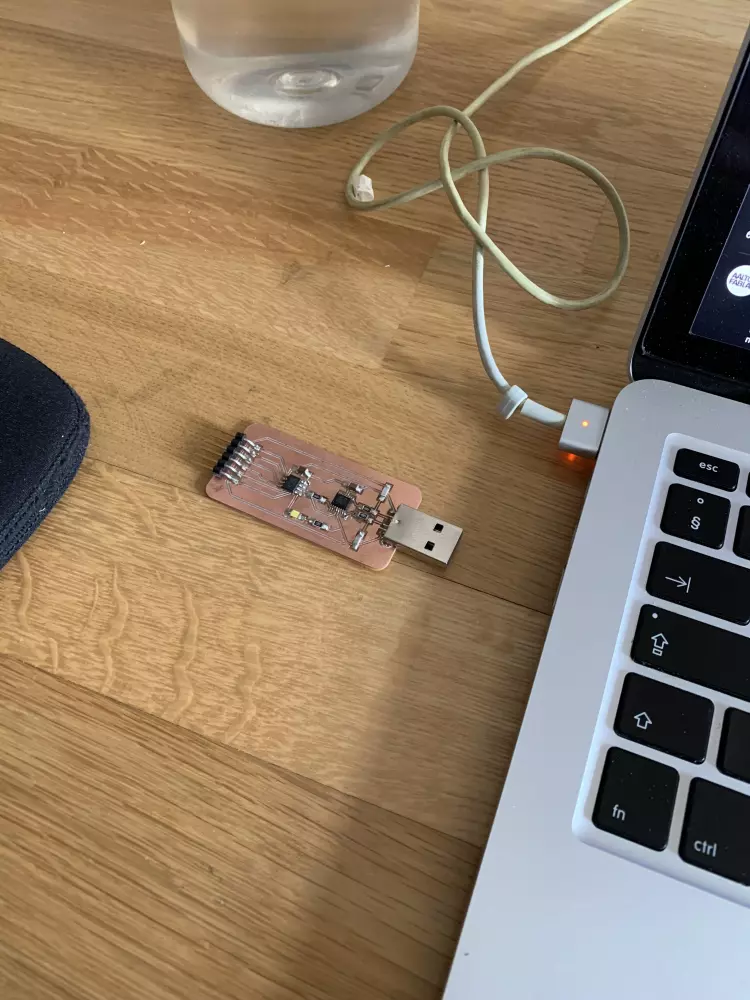
I wanted to program this ATtiny412 development board I made to test the onboard DAC.

I started off by trying to replace the Arduino IDE toolchain. To achieve this on macOS, I installed this thing using homebrew, which gave me both avr-gcc and avr-libc.
At this point I also came across this link which explained some steps how to actually use the compiler. It was here where I also found out that I needed to download an expansion pack for the ATtiny412. This pack provides some useful constants and macros so that you don't have to define them yourself.
After this I tried to look for some LED blink examples for the ATtiny412, and I found this. I didn't understand any of it, so I googled around some more, and came across this pretty good playlist about MCU fundamentals. Armed with this knowledge and the ATtiny412 datasheet, I successfully completed my first blink program:
#include <avr/io.h>
#include <util/delay.h>

int main() {
  _PROTECTED_WRITE(CLKCTRL.MCLKCTRLB, 0); // set to 20Mhz (assuming fuse 0x02 is set to 2)
  PORTA.DIRSET = (1<<2);
  for (;;) {
    PORTA.OUTSET = (1<<2);
    _delay_ms(1000);
    PORTA.OUTCLR = (1<<2);
    _delay_ms(1000);
  }
}
My board has PA2 (PORT A pin 2, ie. the 2nd bit of the PORTA register) hooked up to a LED, so that's why we're shifting 1 by 2 to produce 0000 0010. This however does overwrite any previous pin configurations in the PORTA register, so using bitwise OR would probably be wiser here.
At this point I was also really confused about the io and delay headers, mainly because the first tutorial I linked mentioned something about adding header files to io.h manually, which seemed perplexing. Upon further research it turns out that these headers are provided by avr-libc which helped clarify the toolchain atleast a bit more for me. avr-gcc handles the compilation, while avr-libc gives some useful standard library.
Now it was time to compile it using avr-gcc and upload it to my ATtiny412 development board using pyupdi.
I found this site which had this command for compiling your code using avr-gcc and the aforementioned expansion pack:
avr-gcc -mmcu=attiny406 -B ../Atmel.ATtiny_DFP.1.6.326/gcc/dev/attiny406/ -O3 -I ../Atmel.ATtiny_DFP.1.6.326/include/ -DF_CPU=20000000L -o attiny406-test.elf main.c
After modifying it to my own needs, I had this:
avr-gcc -mmcu=attiny412 -B ../Microchip.ATtiny_DFP.3.0.151/gcc/dev/attiny412/ -O3 -I ../Microchip.ATtiny_DFP.3.0.151/include -DF_CPU=20000000L -o attiny412-test.elf test.c
Moment of truth. I ran the command aaaaaand this came out:
/usr/local/opt/avr-binutils/bin/avr-ld: skipping incompatible /usr/local/Cellar/avr-gcc@9/9.3.0_3/lib/avr-gcc/9/gcc/avr/9.3.0/../../../../../../avr/lib/libm.a when searching for -lm
/usr/local/opt/avr-binutils/bin/avr-ld: cannot find -lm: Undefined error: 0
/usr/local/opt/avr-binutils/bin/avr-ld: skipping incompatible /usr/local/Cellar/avr-gcc@9/9.3.0_3/lib/avr-gcc/9/gcc/avr/9.3.0/../../../../../../avr/lib/libc.a when searching for -lc
/usr/local/opt/avr-binutils/bin/avr-ld: cannot find -lc: Undefined error: 0
collect2: error: ld returned 1 exit status
If I remember something from C programming it's that the compiler will tease you for a while before you actually get things working, so I took this in stride. However, the more I googled around about the error message, the more perplexed I was. One source hinted that it might be due to the linker script being for a different architecture, but I really don't understand enough about the compilation toolchain to be able to confirm this.
The paths of the binaries it's trying to access look super fishy though. I tried to remove the relative paths from the command and still no luck. I also later realized that DF_CPU should be 20000000, but this didn't help either. So, for the time being I'm stuck with using the Arduino IDE for uploading the code. I'm pretty sure that the issue is with brew package I'm using, I'll need to check how to manually install both avr-gcc and avr-libc.
Bonus: Timers
Coming soon..